OAuth 2.0
Make API calls on behalf of other Tremendous users
OAuth 2.0 authentication is a way to make API calls on behalf of other Tremendous accounts. It’s primarily useful for platforms who want to send out rewards on behalf of other Tremendous users.
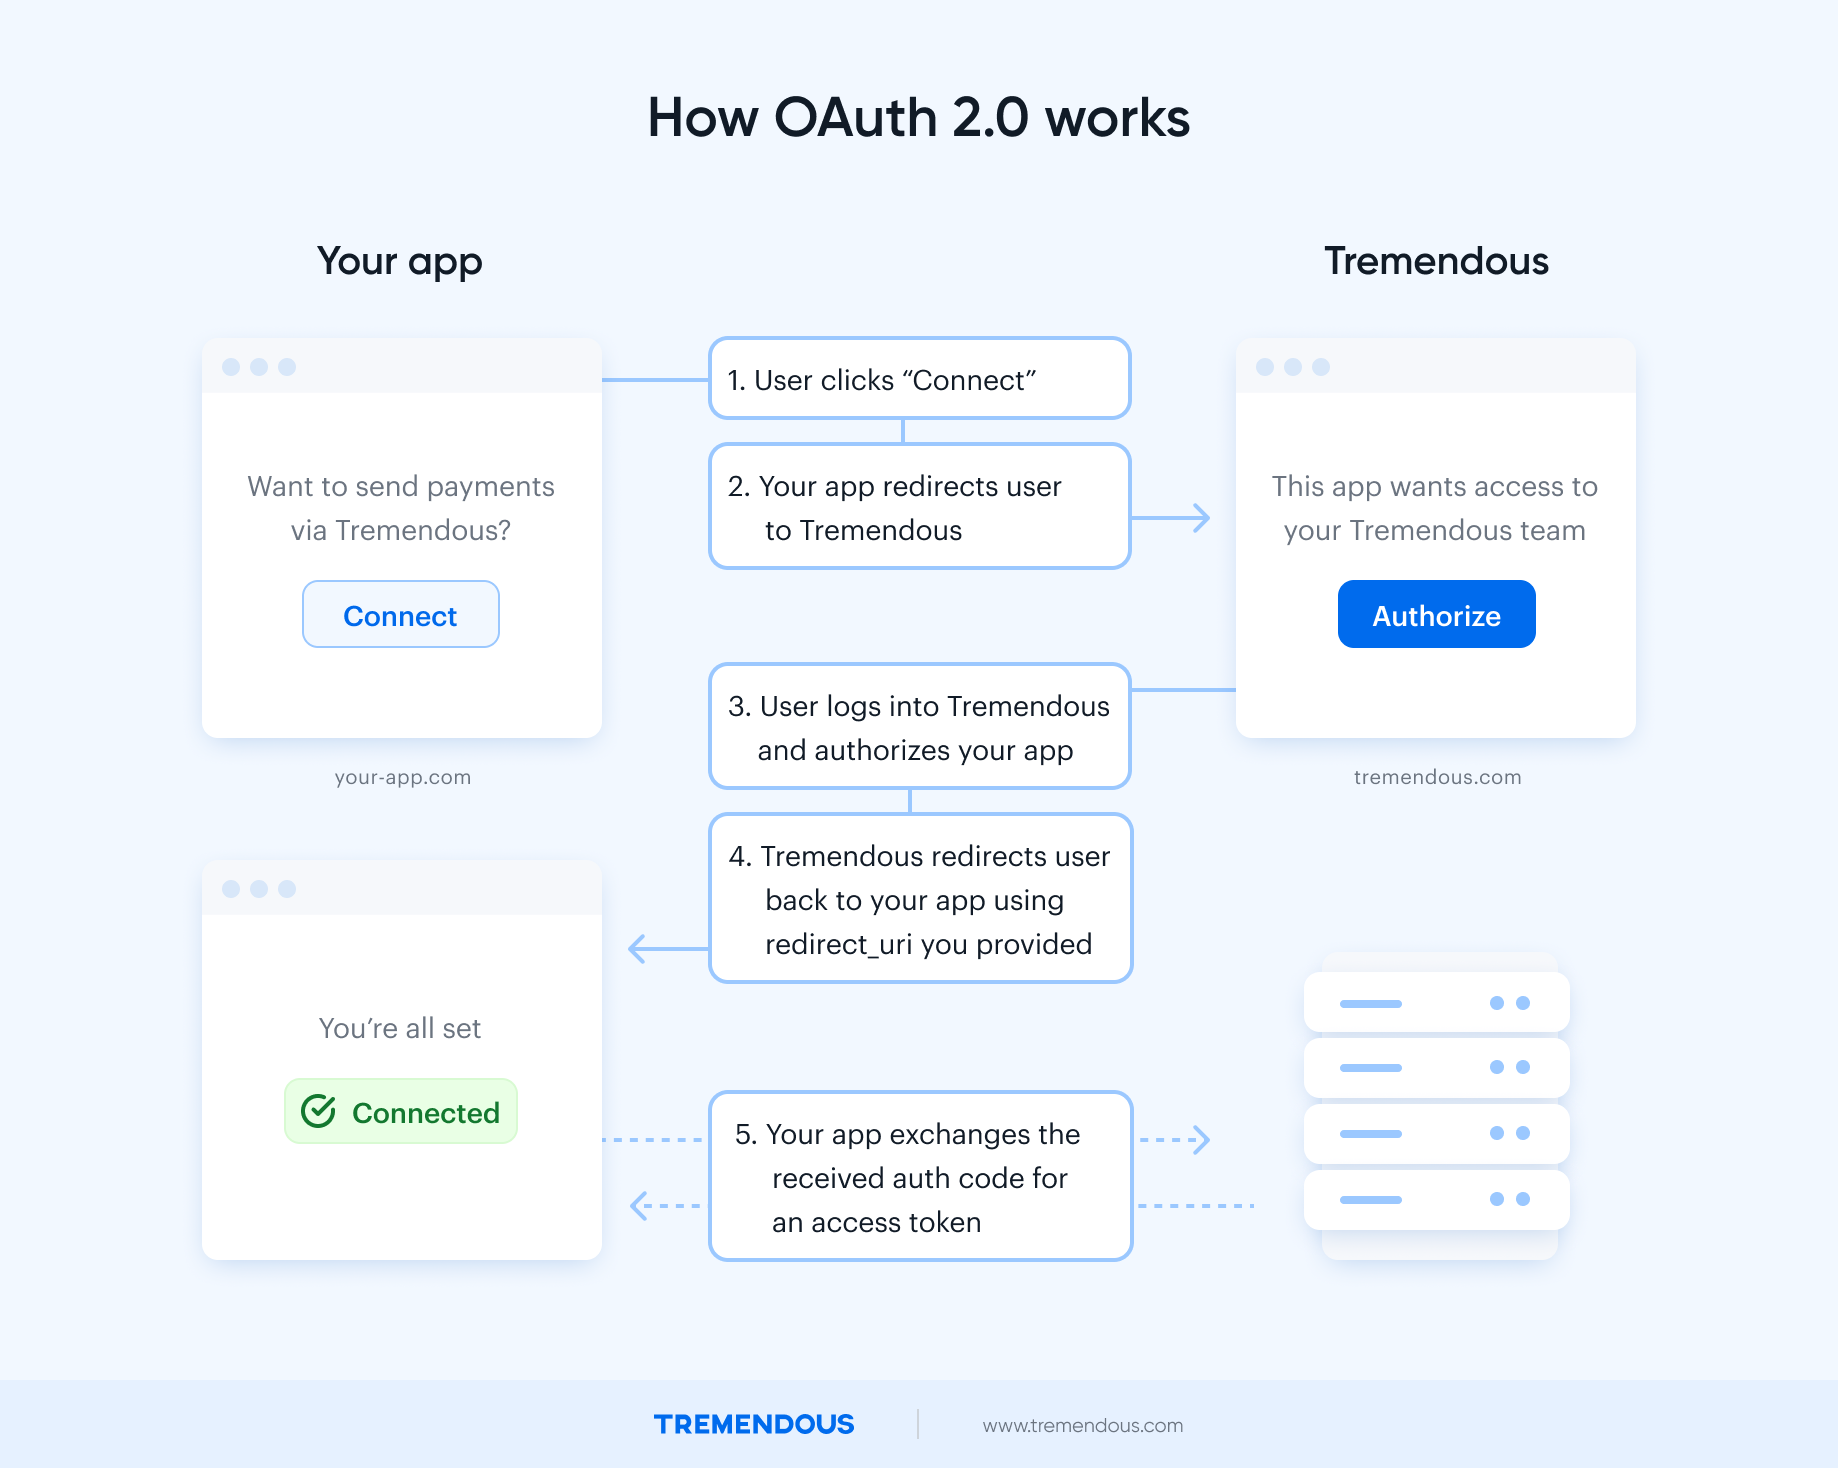
Here’s how it works:

Tremendous Connect (Recommended)We’ve introduced Tremendous Connect — a new integration path built on top of OAuth 2.0. It provides a smoother onboarding and funding experience for your customers, while giving you more control over how Tremendous fits into your product.
With Tremendous Connect, you can:
- Embed the Tremendous dashboard inside your app, so customers complete their Tremendous account setup and funding without leaving your product.
- Wrap the flow however you like — add your own UI before or after, guide customers through the process, and create a more cohesive experience.
This option results in a faster, cleaner onboarding for your customers and fewer manual steps overall.
For most new platform integrations, we recommend using Tremendous Connect. It's built on top of OAuth 2.0, and provides a smoother onboarding and funding experience for your customers while giving you control over how Tremendous fits inside your product.
The direct OAuth 2.0 flow described in this doc may be a better fit if all of your customers already have Tremendous accounts, and you don't need an embedded onboarding or dashboard experience.
Implementing OAuth
Step 1: Register a developer app
Register a developer app to obtain a CLIENT_ID and CLIENT_SECRET
- Log into your Tremendous account.
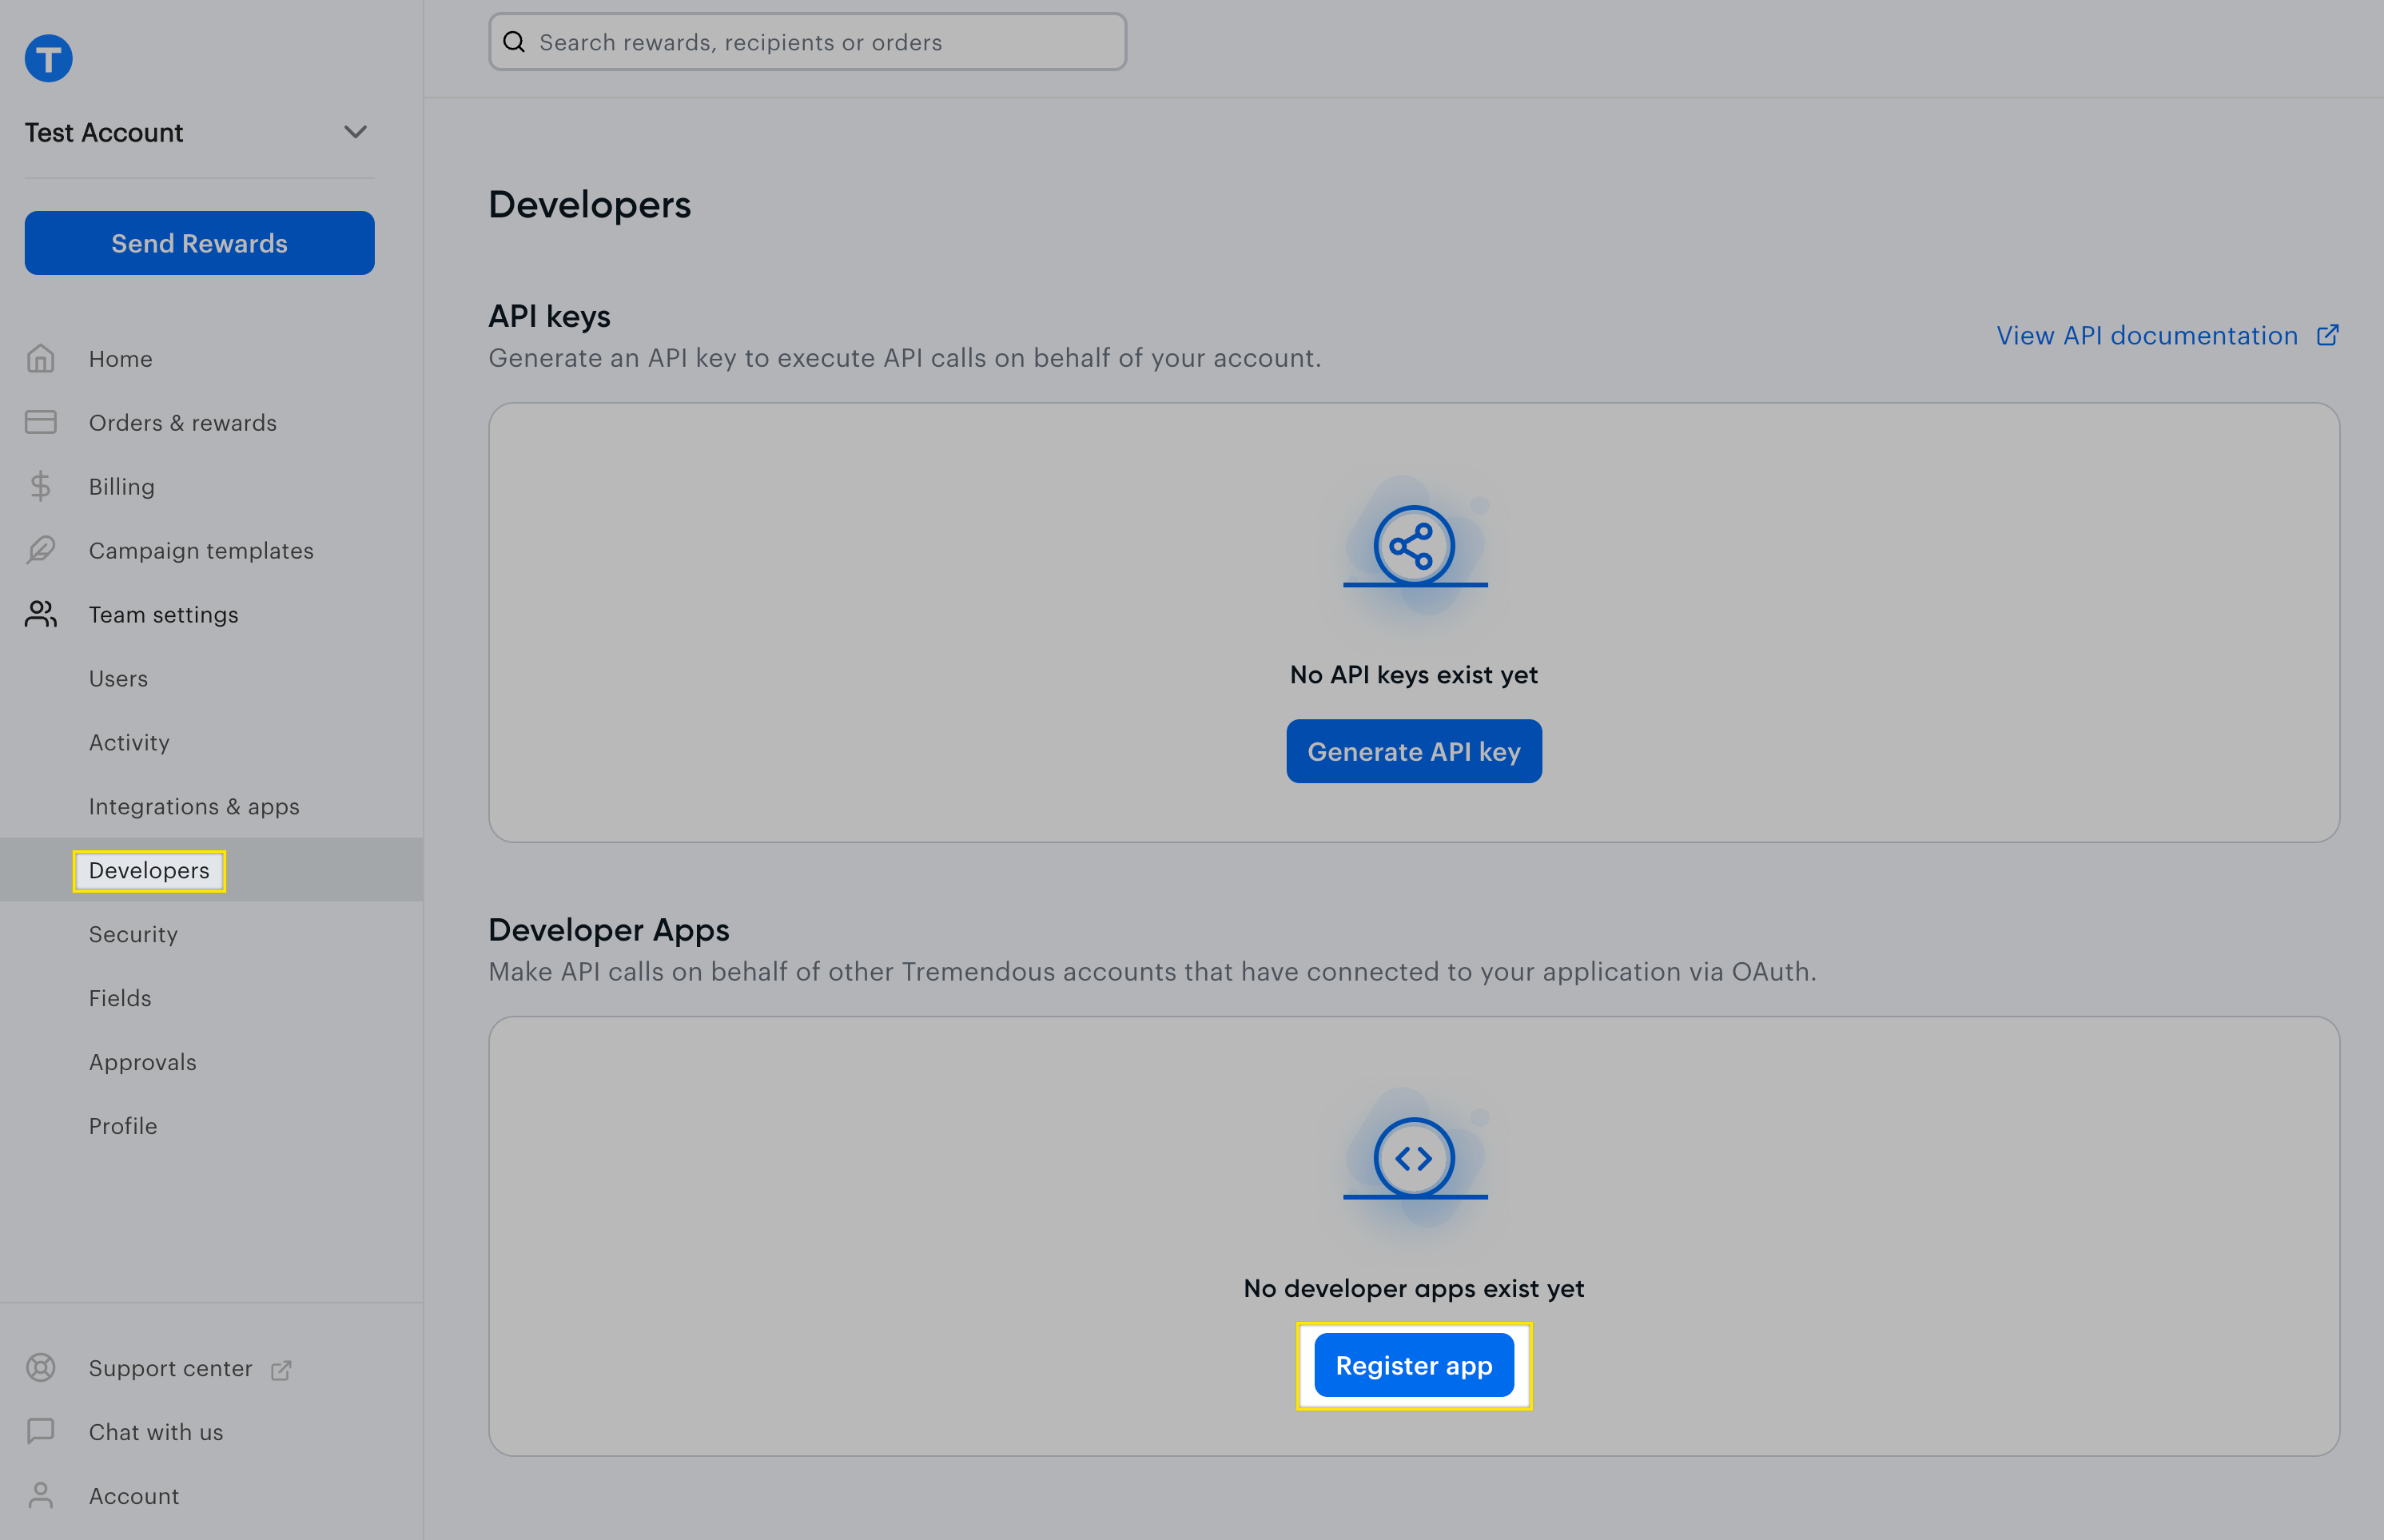
- In the left navigation menu, access Team settings → Developers. You’ll need to be an admin in order to access this.
- In the "Developer apps" section, click "Register app" and follow the steps in the modal.
- Note the client ID, client secret, and redirect URI.

Step 2: Determine which scopes your app will need
Depending on which API calls your app needs to make, you'll need to request specific scopes.
default: Grants access to most core resources, including orders, rewards, products, campaigns, funding sources, invoices, and fields.team_management: Grants access to organizations, members, and webhooks endpoints.fraud_prevention: Grants access to fraud reviews and configuration rules.
If you're unsure, just use default. You can also specify all the scopes in the request.
Step 3: Create an OAuth authorization request
Note: We’d strongly recommend using an OAuth 2.0 library that handles the boilerplate interactions for you.
From your web app, redirect the user to https://testflight.tremendous.com/oauth/authorize?client_id=**[YOUR APP'S CLIENT ID]**&redirect_uri=**[YOUR APP’S REDIRECT URI]**&scope=**[SCOPES YOUR APP NEEDS, SEPARATED BY SPACE]**&response_type=code. The scope parameter is optional. When you're moving to production with your app, you will need to redirect to https://api.tremendous.com/oauth/authorize (and with the same query parameters as above.) Note the api subdomain.


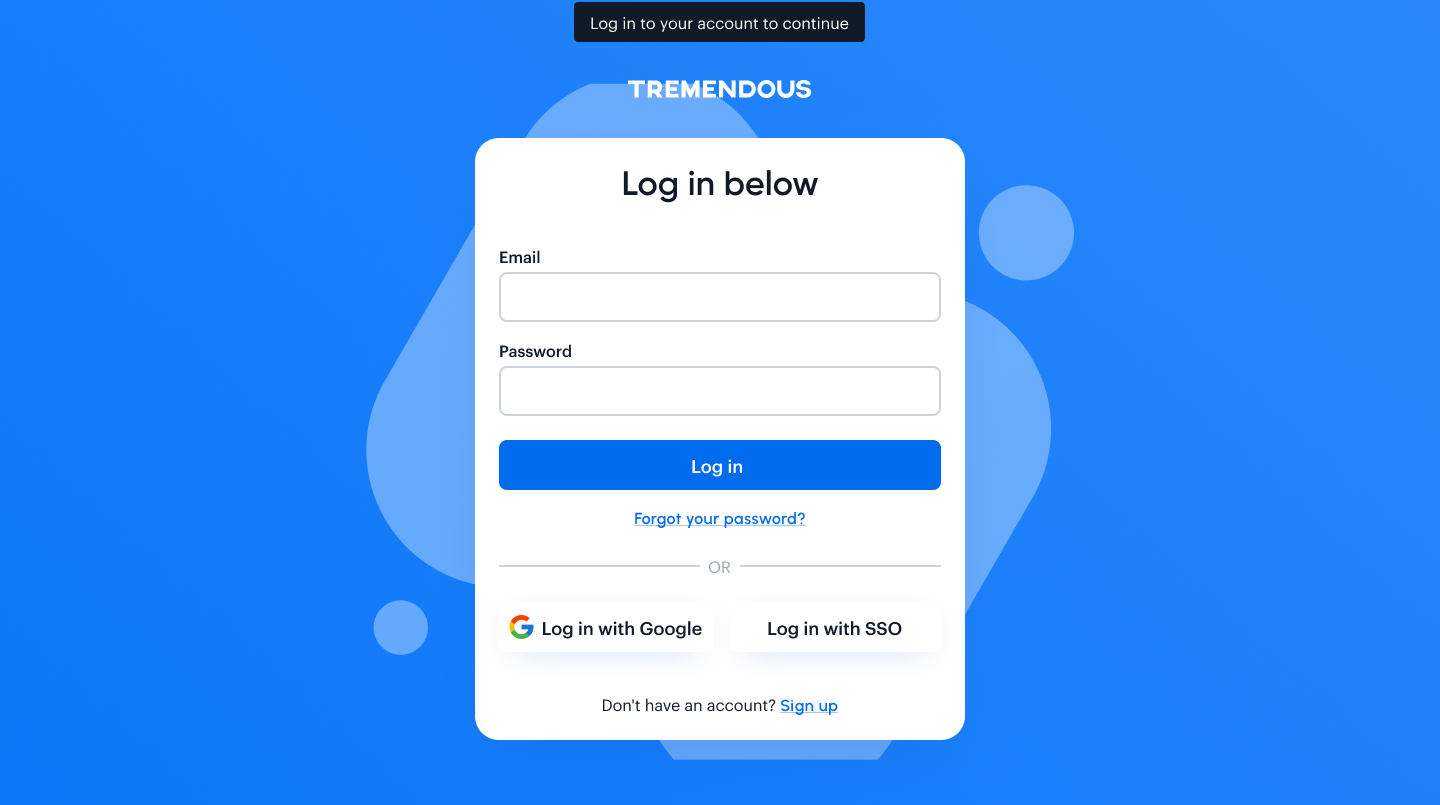
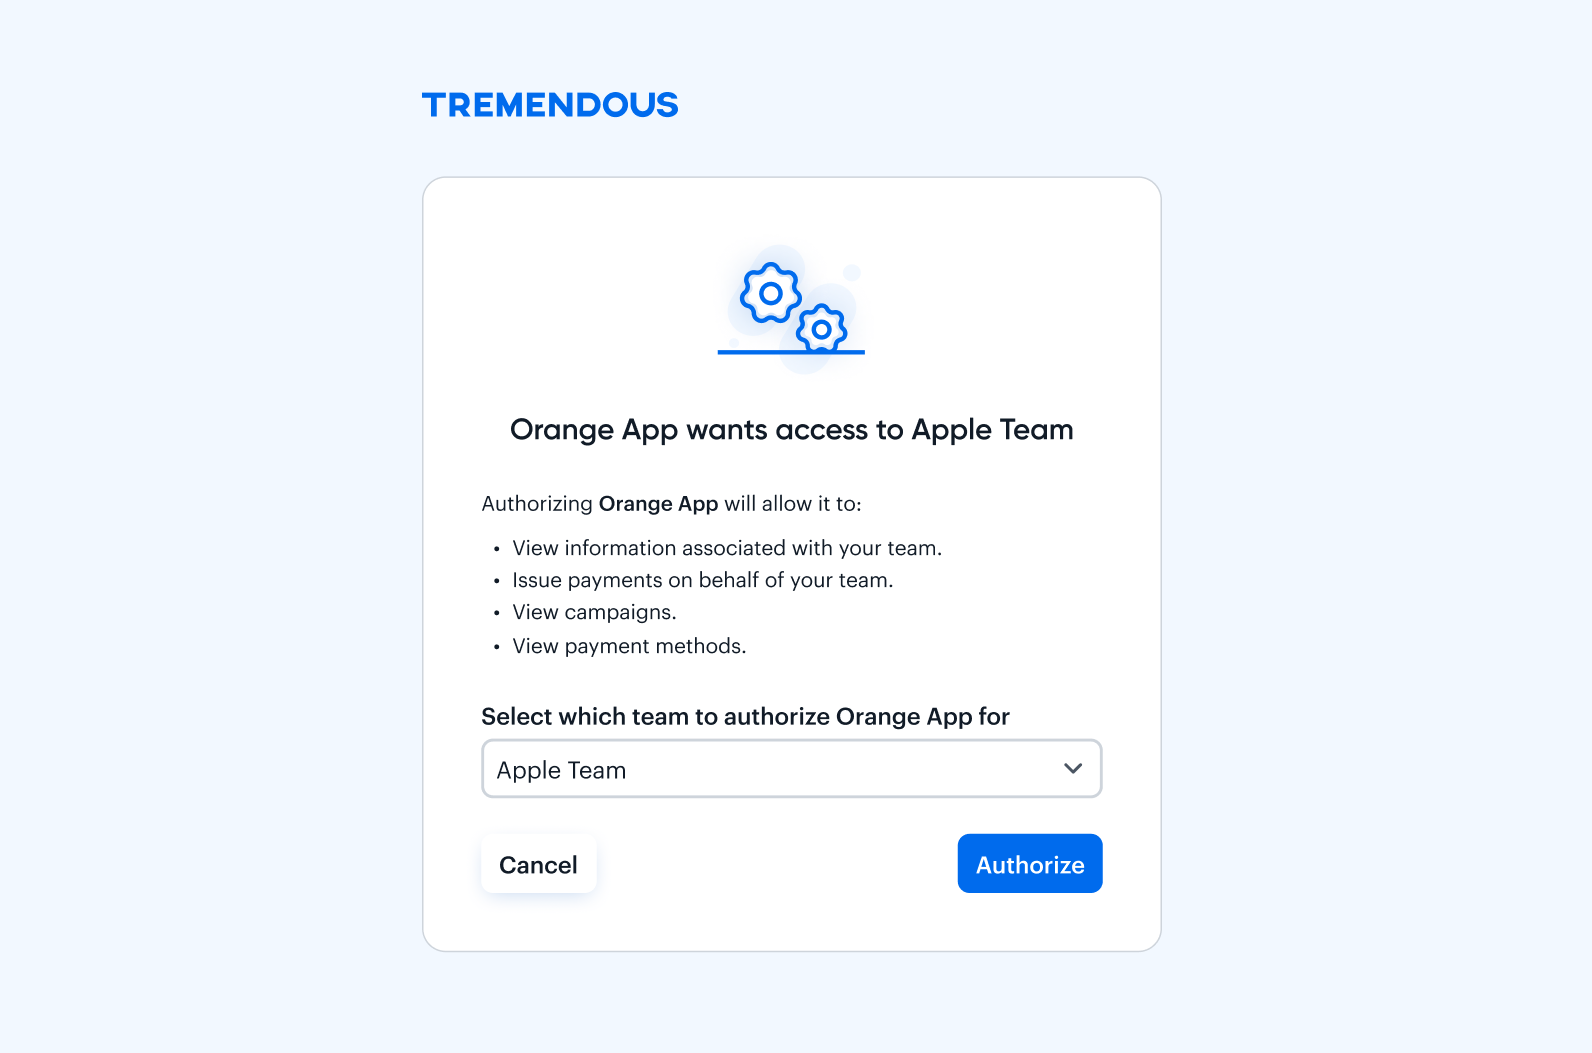
The user will see a Tremendous login page and, after they log in, a confirmation with your app's name and the permissions requested will be shown. If the user already has a Tremendous account, they'll just see the OAuth confirmation page.
If the user authorizes the connection, they will be redirected to your app's redirect URI, with a query string parameter called code containing the authorization code. For example, https://my-app.com/?code=AUTHORIZATION-CODE.
Retrieve this code from the URL and use it for the next step.
Step 4: Generate an access token
With the authorization code in hand, you’ll perform a POST to https://testflight.tremendous.com/oauth/token endpoint, as follows:
curl --url 'https://testflight.tremendous.com/oauth/token' \
     --header 'Content-Type: application/json' \
     --data '
{
  "client_id": "YOUR-APPS-CLIENT-ID",
  "client_secret": "YOUR-APPS-CLIENT-SECRET",
  "redirect_uri": "https://www.example.com/oauth/callback",
  "grant_type": "authorization_code",
  "code": "AUTHORIZATION-CODE-FROM-PREVIOUS-STEP"
}
'
You can send the payload in JSON or URL-encoded form format (specify the Content-Type header accordingly).
You will receive a JSON response as such:
{
	"access_token": "<random code>",
	"token_type": "Bearer",
	"expires_in": <number of seconds>,
	"refresh_token": "<random code>",
	"scope": "[REQUESTED SCOPES]",
	"created_at": <UNIX timestamp>
}
Store the access_token and the refresh_token. The access_token will be used to authenticate API calls made on the connected account's behalf. The refresh_token will be used to obtain new credentials when the access_token expires.
Step 5: Make a request to the Tremendous API
Specify the access_token in the Authorization header of the request, prefixed by Bearer .
curl 'https://testflight.tremendous.com/api/v2/organizations' \
     --header "Authorization: Bearer OAUTH-ACCESS-TOKEN>"
Using refresh tokens
access_tokens have an expiration time. If you try to make a request to the API using an expired access_token, you'll get an unauthorized response (status 401). You can tell when an access_token expires by adding the expires_in value to the created_at timestamp from the access token creation response.
When an access_token expires, use the refresh_token to request a new access_token using the following request:
curl --url 'https://testflight.tremendous.com/oauth/token' \
     --header 'Content-Type: application/json' \
     --data '
{
  "client_id": "YOUR-APPS-CLIENT-ID",
  "client_secret": "YOUR-APPS-CLIENT-SECRET",
  "grant_type": "refresh_token",
  "refresh_token": "REFRESH-TOKEN-OBTAINED-FROM-ORIGINAL-REQUEST"
}
'
This will return a payload in the same format as the original request, with a new access_token and a new refresh_token. A refresh_token never expires, but can only be used once.
{
	"access_token": "<random code>",
	"token_type": "Bearer",
	"expires_in": <number of seconds>
	"refresh_token": "<random code>",
	"scope": "[REQUESTED SCOPES]",
	"created_at": <UNIX timestamp>
}
Store these values for future use.
Scopes
The default scope will give access to the following endpoints:
- campaigns (all)
- fields (all)
- funding_sources (all)
- invoices (all)
- orders (all)
- products (all)
- organizations (list, retrieve only)
- members (list, retrieve only)
The team_management scope will give access to the following endpoints:
- members (all)
- organizations (all)
- webhooks (all)
The fraud_prevention scope will give access to the following endpoints:
- fraud_reviews (all)
- fraud_rules (all)
Libraries
We’d strongly recommend using an OAuth 2 library, which handles much of the boilerplate code for obtaining credentials. Libraries are available in every language, and will drastically speed up time to integrate.
| Language | Libraries |
|---|---|
| Ruby | oauth2, rack-oauth2 |
| Python | authlib, requests-oauthlib |
| Javascript | oauth2-client-js |
| Node | passport-oauth2 |
Updated 3 months ago